
Are you looking to find the tried and true ways to avoid blisters every time you go hiking? Here are 5 thoroughly tested ways to prevent blisters when hiking.
If there’s one thing I prioritize when going on a hike, it’s following a process to avoid blisters. When you’re new to hiking and multi-day trekking, you may not be as confident in your hiking shoe choice. You might be questioning if you are even wearing the right footwear altogether.
But you hike on and start to feel a little rubbing in one place on your foot. You don’t think too much of it. But the rubbing turns into a hotspot and before you know it, you can barely walk.
So you find a place to sit down for a little break and decide to take your shoe off then BOOM! There it is… the blister you were dreading.
If you’re anything like me, you love hiking and want it to continue to be a part of your life. So you want to ensure that every time you go hiking you aren’t nursing blisters for the next couple weeks.
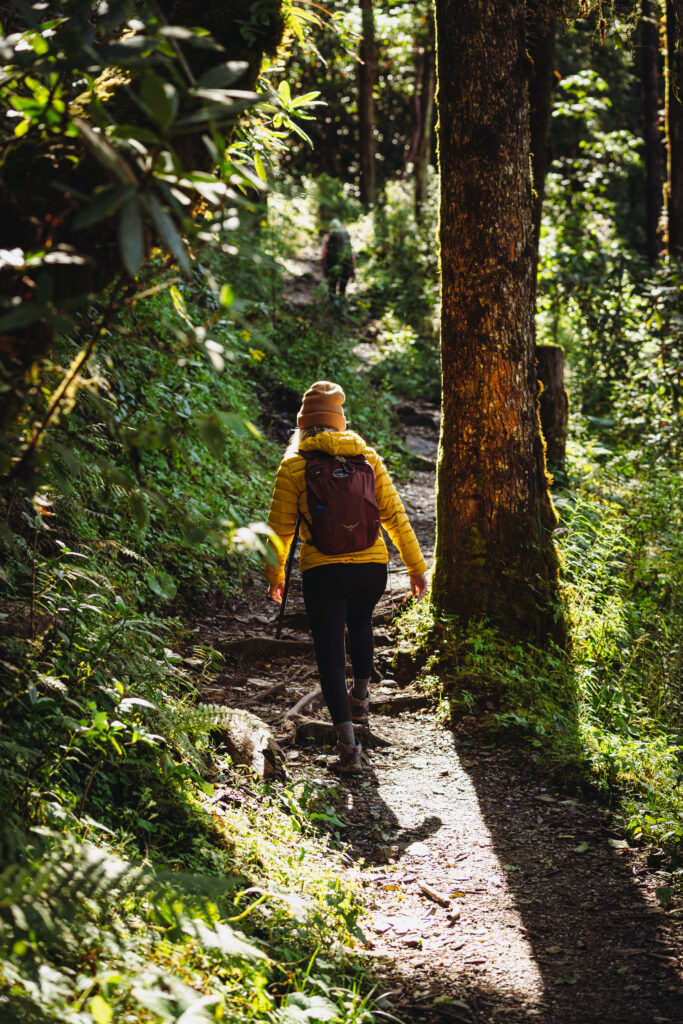
As an experienced hiker who’s trekked all over Nepal, Patagonia, Mexico, Colorado, and more, I am giving you my step-by-step process that I do every single hike to stay blister free.
After learning about this process, you will be prepared each time you head out! You’ll even be sharing your new secret tips with all your hiking buddies. And they’ll thank you for it later. I promise.
Avoid Blisters Every Time
1. Wear the proper hiking boots.
This may come as a surprise to you, but hiking boots that fit your feet really do matter. And further, ensuring they’re broken in before a big hike also matters. Buying a brand new pair of hiking boots one week before your big trip trekking in Nepal probably isn’t going to put you in the best position to prevent blisters.
If the boots are still super stiff and not yet moving with your gait, it will create more friction. And friction over and over in the same spot(s) is a surefire way to get a blister.
So even if you’re excited about that brand new pair of boots you just bought, it’s best to give them some solid wear time around town and on smaller hikes before committing them to your next big epic adventure.
I have a couple brands that I especially love that don’t seem to require much break in time if any. And no this is NOT sponsored, but it totally should be ?.
For years I have worn the Oboz Bridger. They fit incredibly well and are waterproof. I feel like finding Oboz was my secret gift to the world in some way.

I recommend Oboz to everyone I talk to about hiking and every person who’s taken my advice and purchased them agrees – they’re the MOST comfortable hiking boots on the market and don’t require any break in time!
I recently switched to the La Sportiva Nucleo and so far I’m LOVING them. I went up a half size to give my toes a bit more room so as not to rub. After loyally sporting Oboz for the last 10 years, I was ready to give another brand a try.
BUT you should also be certain you try on a variety of boots to truly pick the right ones for your feet. Here are a couple of tips for trying on hiking boots.
You know those funny fake hiking trails and ramps that outdoor stores have in the shoe section? Use it! Pay attention to how the boots feel when walking uphill and when walking downhill. If the store has a staircase, walk up and down the stairs.
If the boot is the right fit, your heel should NOT slip at all and your toes should NOT bump into the front of the boots in any of these scenarios. If the heel slips, the boot is too big. If the toes bump, the boot is too small.
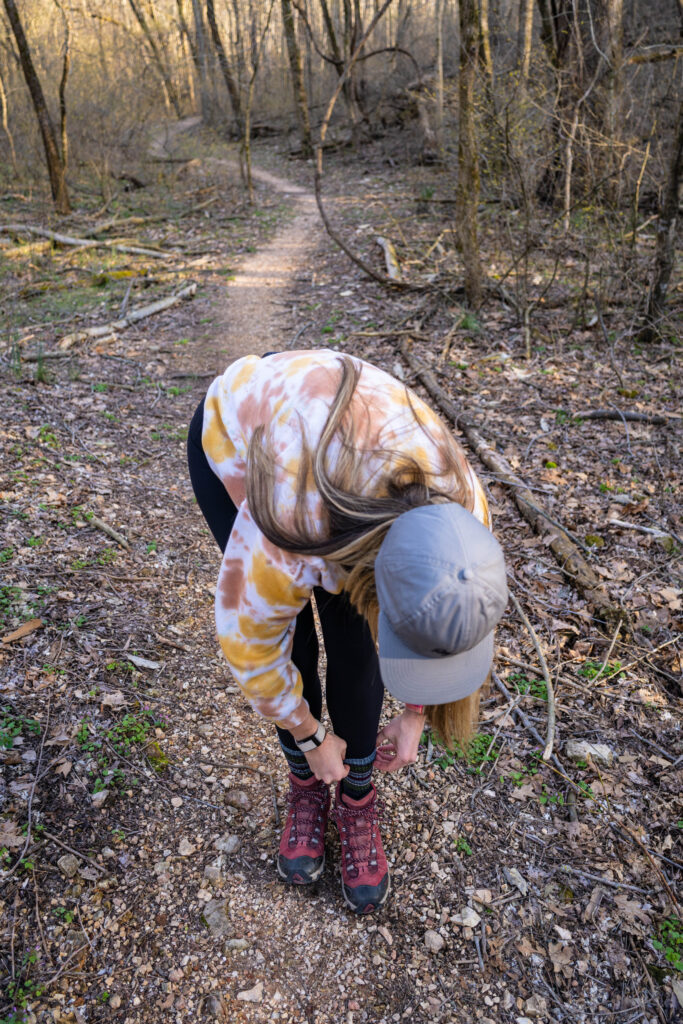
Also when you lace up those boots, be sure you lace them up nice and snug. You want them to be snug on your feet to reduce any chance of friction.
2. Cut your toenails!
I didn’t put a photo for this one for OBVIOUS reasons. Because ew. But this is a CRITICAL step not to miss!
Take it from someone who’s regretted forgetting this step more than her fair share of times. When your toes are squished into those cozy hiking boots, you know which one tends to rub or dig into the others.
Do yourself a favor and ALWAYS pack nail clippers with you. And do a final check before putting your socks on to ensure your toenails are trimmed and won’t cut into the sides of any of your toes once suited and booted.
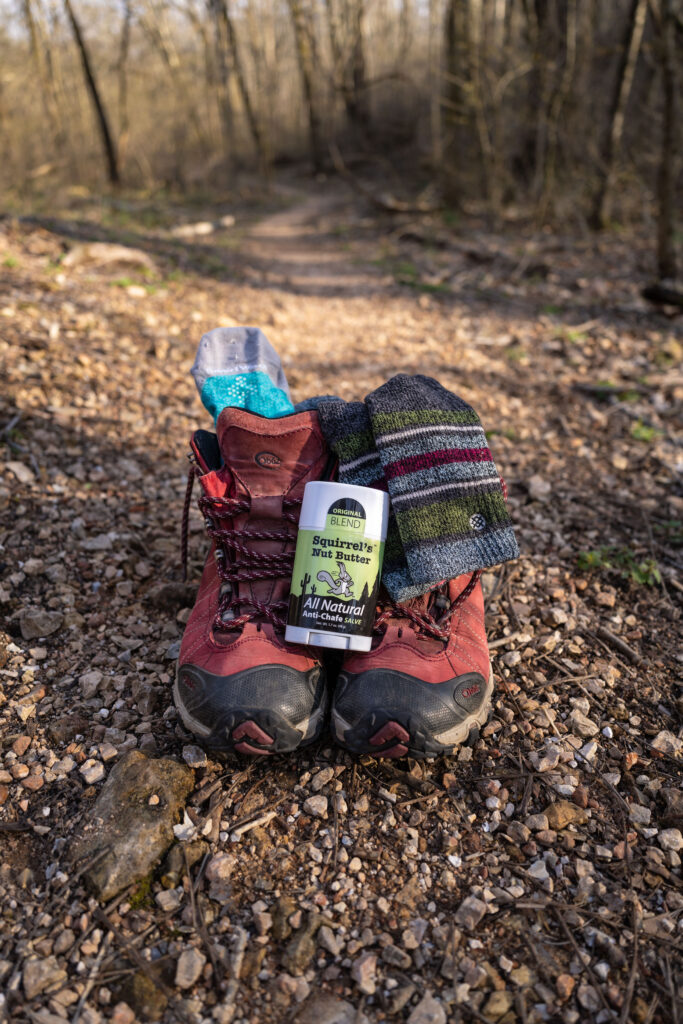
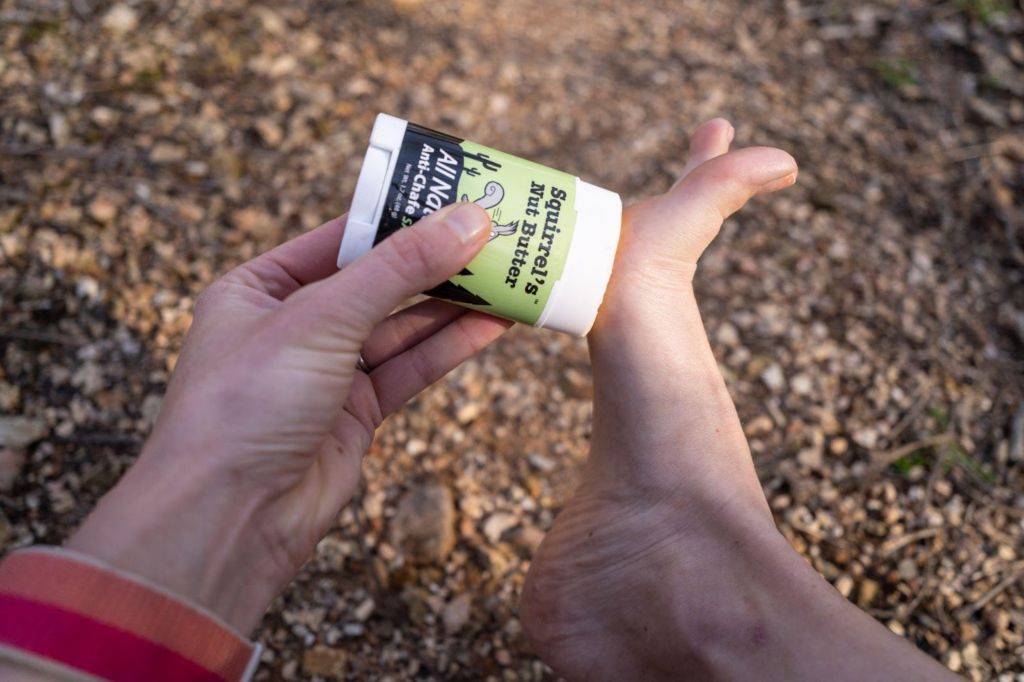
3. Use an anti-chafing salve to avoid blisters.
Okay, right next to Oboz, Squirrel’s Nut Butter is my best-kept secret and probably my most shared item I pack with me.
If you’re saying “ew, Hilary, that’s pretty gross” right now. You’re not necessarily WRONG, but I love my people and I’d rather we share an anti-chafing stick on our feetsies, than have them have a miserable time and complain to me later about how much their feet hurt because of a pesky blister.
If we are friends and you do not have rampant athlete’s foot… I got you! But also, like, please go buy a body glide stick!
Let’s talk about friction again real quick. Anywhere there is direct friction and consistent rubbing on a focused spot is a great candidate for a blister to form. One way to create protection and reduce friction is by applying anti-chafing cream before you put your socks on. It’s a quick step that makes a major difference.
My favorite anti-chafing cream is Squirrel’s Nut Butter but you can use any glide stick out there or even Vaseline. Hell, if you’re really in a pinch, guess what else is lubricating and comes in the form of a stick and I’m willing to bet you carry EVERYWHERE? Chapstick.
So whatever it is, whether it’s body glide, vaseline, coconut oil, or chapstick… lube up! Put that stuff all over the heel, soles, and between your toes. Your feet will thank you for it.
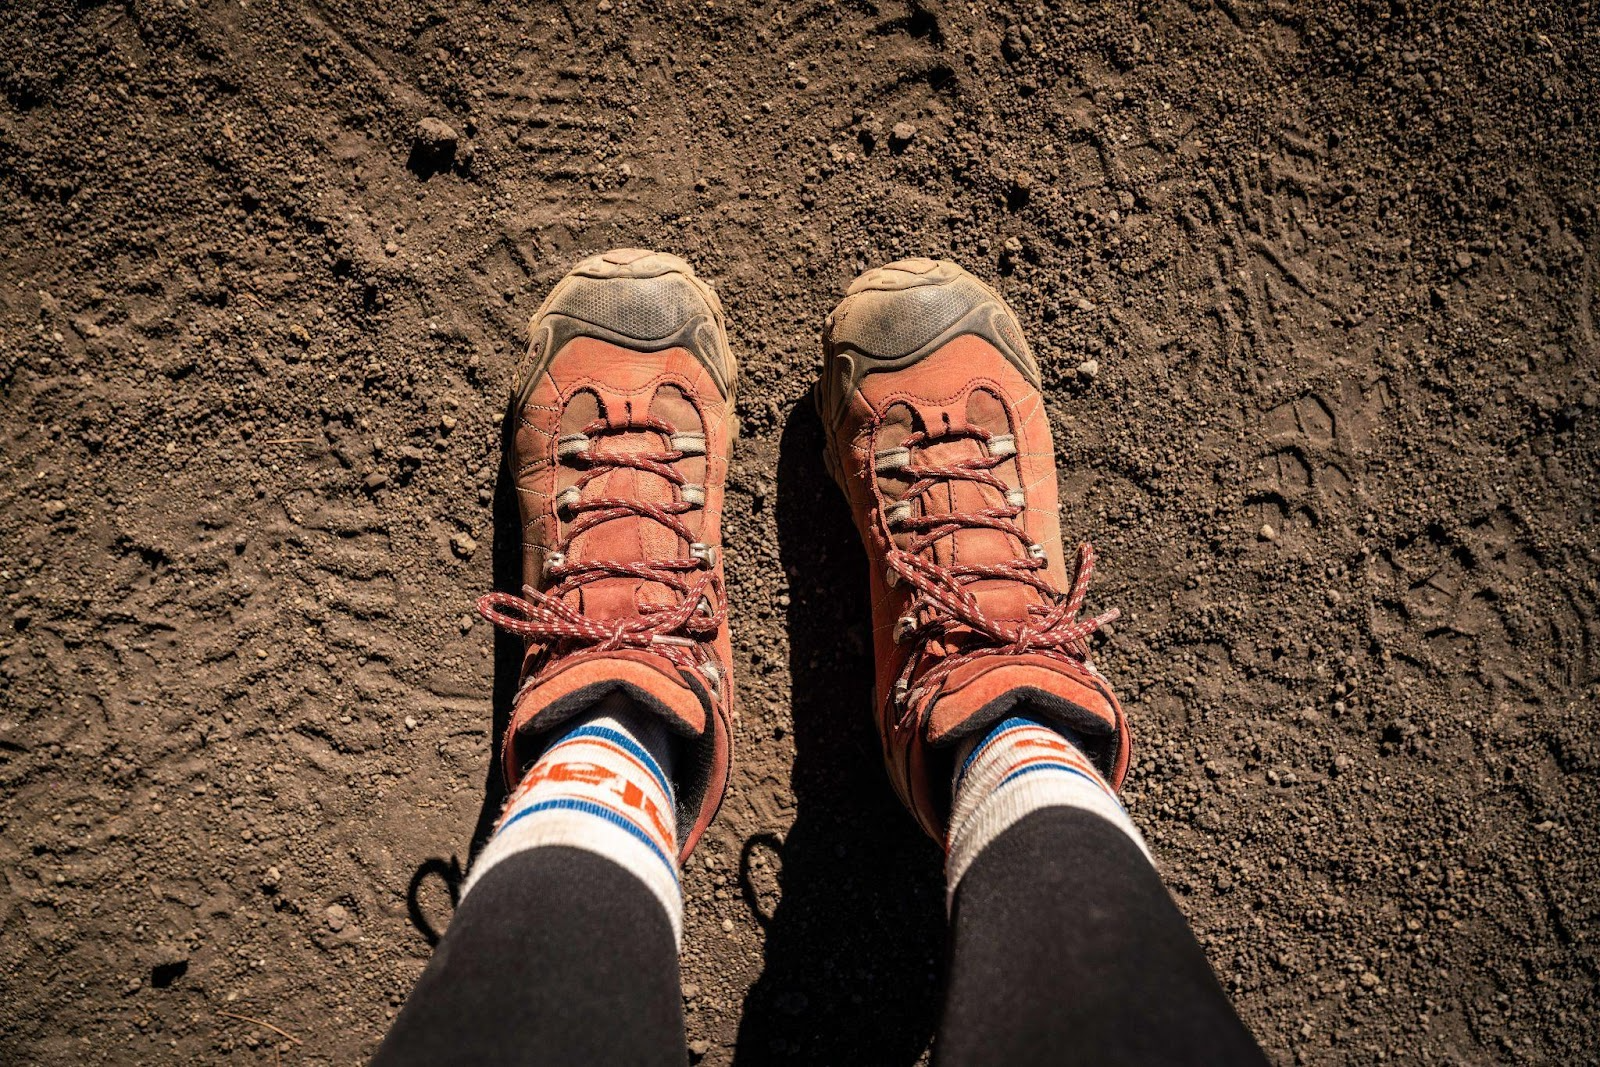
4. Wear the right socks! And layer up with liner socks.
Okay this is a twofer! You know… a two-for-one. Yeah, duh of course you do. This is another tip that a lot of folks don’t inherently know. And it always takes that first friend to share it with you before you realize just how important it really is.
So first, absolutely NO cotton socks! I don’t feel like many socks these days are 100% cotton, BUT no cotton. Cotton is NOT a sweat or moisture-wicking material.
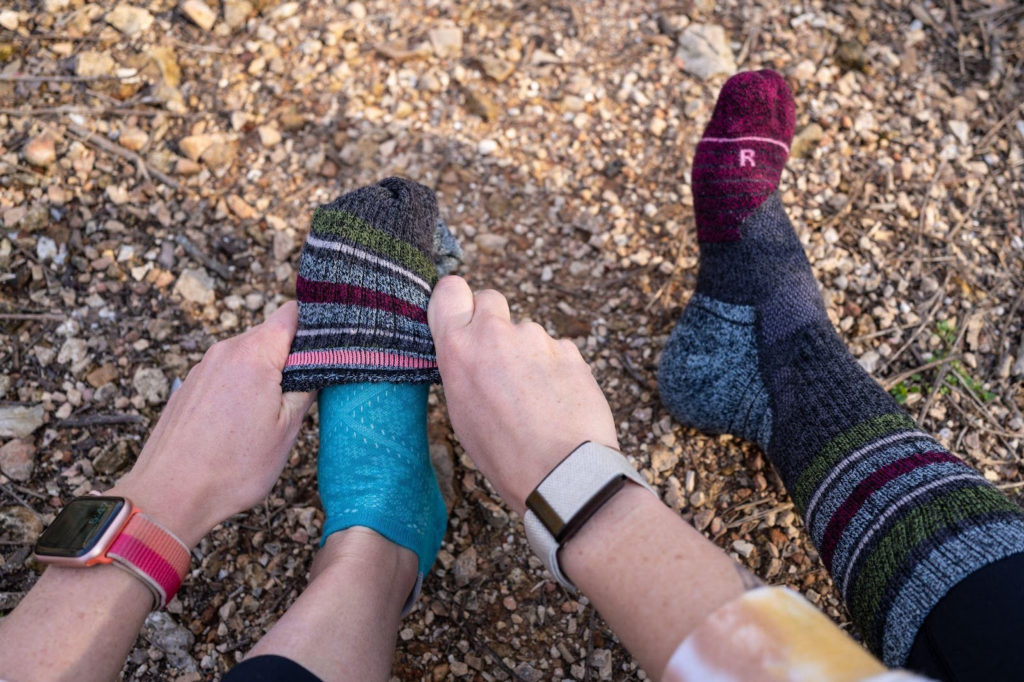
You’ll ensure you’re comfortable by wearing Merino wool or some other moisture-wicking sock. Also, be sure they’re the right size for your foot and the right thickness. You want a sock that is a bit thicker and if you’re wearing high-ankle boots, be sure you wear high socks.
And don’t forget a liner sock! It should be a thin layer (while the outer sock is the thick layer) that is also moisture-wicking. This is the thing that a lot of folks skip but actually can make a major difference in your hiking longevity when it comes to comfort and reducing friction.
Essentially the thin liner sock will wick that moisture away (aka sweat) to help keep your feet dry. But it also reduces friction by ensuring the two sock layers are rubbing against one another INSTEAD of your socks and your feet rubbing against one another.
This method really does work! And I swear by it. So if you’ve not tried this one yet and are still experiencing blisters every so often, give it a try and see if it changes things for you!
5. Stay Dry!
This may seem obvious, but moisture is the second biggest culprit of blisters right behind friction. Okay cool, Hilary, of course I’m going to try to stay dry. But like… what do you mean? Oh my gosh, I’m SO glad you asked!
Be sure to air your boots out overnight between hikes to prevent and avoid blisters. You want to put on a dry boot, not a moist boot that stayed sweaty because you were so tired (and lazy) when you took your boots off that you just stuffed your sweaty, soggy socks inside and fell asleep.
No, you are the SMART human that hung those sweaty, yet somehow stink-resistant, socks up to air out respectively leaving your boots in a dry place to also air out.
But hey, what if you run into a creek crossing or it starts raining on your hike? Another awesome question, friend!
First, let’s be sure we bought the waterproof version of our hiking boots. Even if they’re ankle boots, it does help to have that added layer of waterproofing especially if it starts raining. If you dunk your foot in a stream, maybe not so much.
If you know you’ll be hiking where there are creek crossings, consider investing in a pair of gaiters. I personally own a pair that go all the way up to my knees. These gaiters buckle under your hiking boots and secure to your laces so that if you have to deal with snow or water cross, it’s an added waterproof layer that ideally keeps water from overflowing into your boot.
Let’s say you’ve done both of the above and you STILL manage to get your feet wet and you’re feeling…. I’m gonna say it… moist. Always, always have a pair of dry socks in your daypack just in case.
Just by changing into a dry pair of socks, you can be sure you’re comfortable to finish that long hike sans blisters!
Pro tip: pack a small quick dry towel in your day pack too so that you have an easy, lightweight way to dry off in a pinch.
Your Feet are Ready to Avoid Blisters!
Alright, your feet are ready! Let’s hike!
Did you try these steps? Let me know! Have another method you use that I didn’t mention above? Tell me!
This entry was all about the foolproof ways to avoid blisters when hiking.
Stay curious, friends. And for the love of yourself… JUST GO!
April 21, 2023
|

Hey There! I'm Hilary Lex
I’m here to help women step into adventure and feel confident on the trail. With years of backpacking experience, I’ve created Hilary Lex Treks to guide you on unforgettable journeys through wild places like Glacier National Park. Whether you’re just starting or ready to take on a new challenge, I’m here to support you every step of the way. Let’s get you out there and make your adventure a reality.
Stay in Touch
Letters about my latest adventures, obsessions, and industry news – just a little something to invite bewilderment into your daily life.