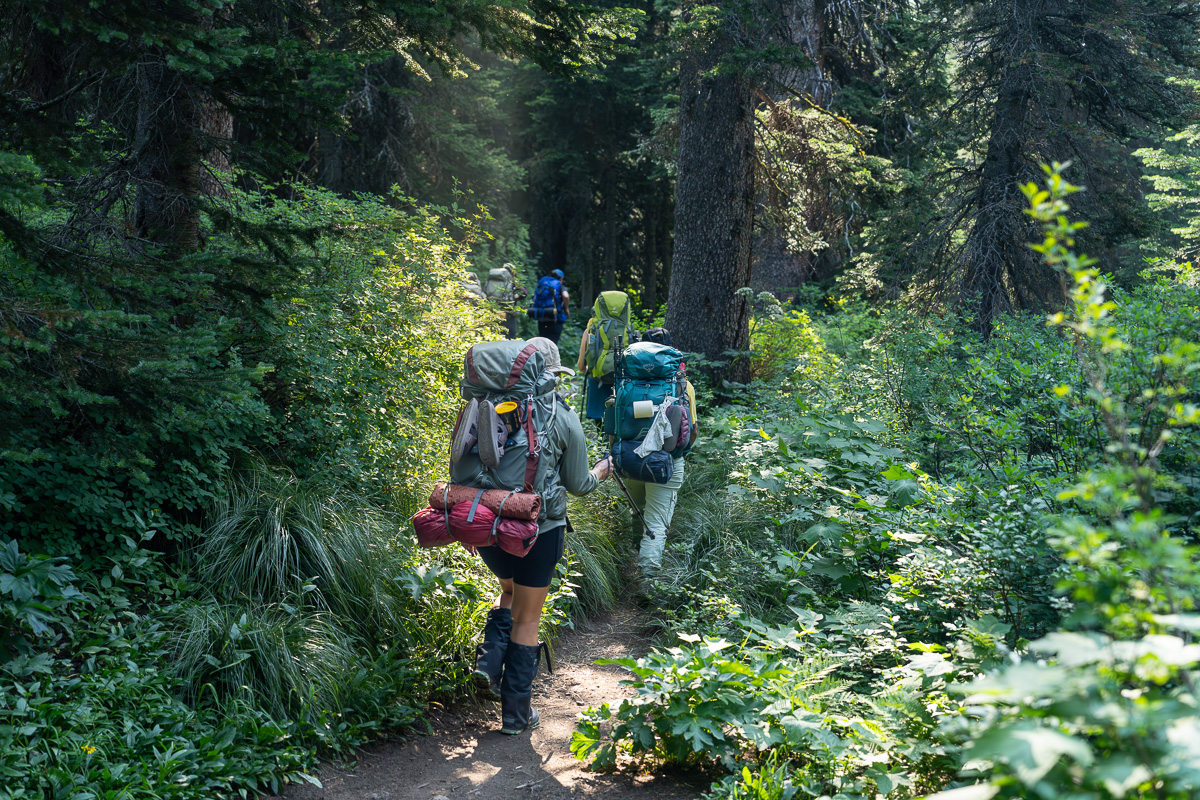
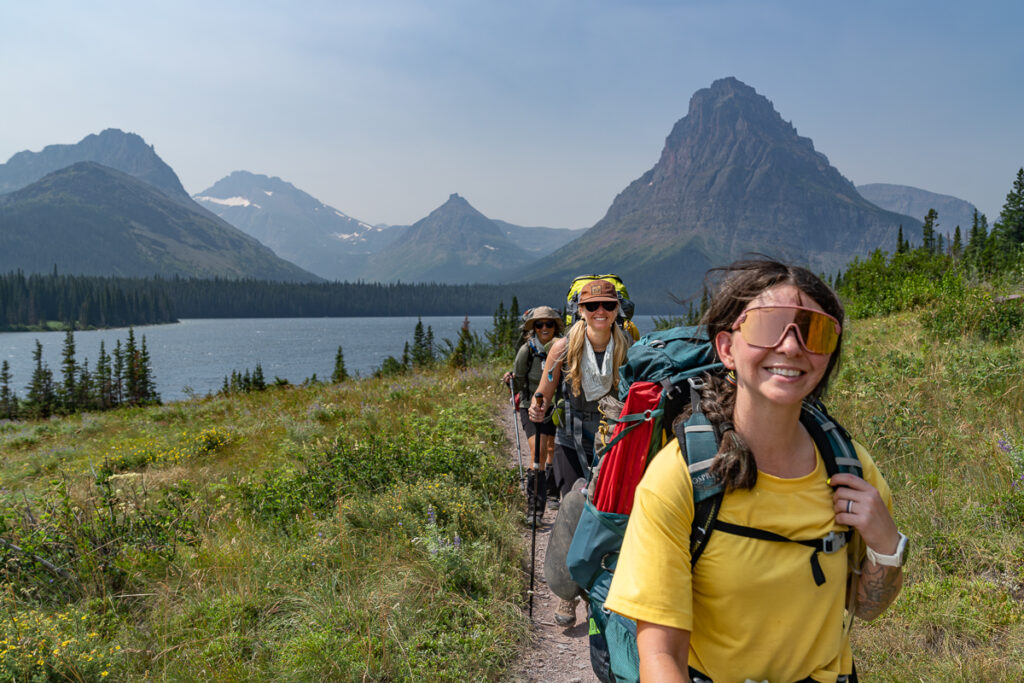
Last November after my return from summiting Yala Peak in Nepal, my friend Candice reached out asking if I’d be open to planning the best possible Glacier National Park three day backpacking route for her and a couple of friends. First of all, the answer is duh. B of all, we immediately met up for coffee so that I could get inside the dreamland in her brain to uncover what she and her gal pals had in mind. The task was simple: “We’ve never been proper backpacking before and we have no idea where to start. We want to go to Glacier National Park in Montana. Can you make it happen?”
I started doing my research, knowing that we’d likely have to enter a lottery system to get National Park Backcountry Wilderness Permits. I came up with three different routes based on a few factors: epic views, dynamic terrain, beginner-friendly, and able to complete in three days. We had our first meeting last December and by March the trip had grown from four first-timers to eight!
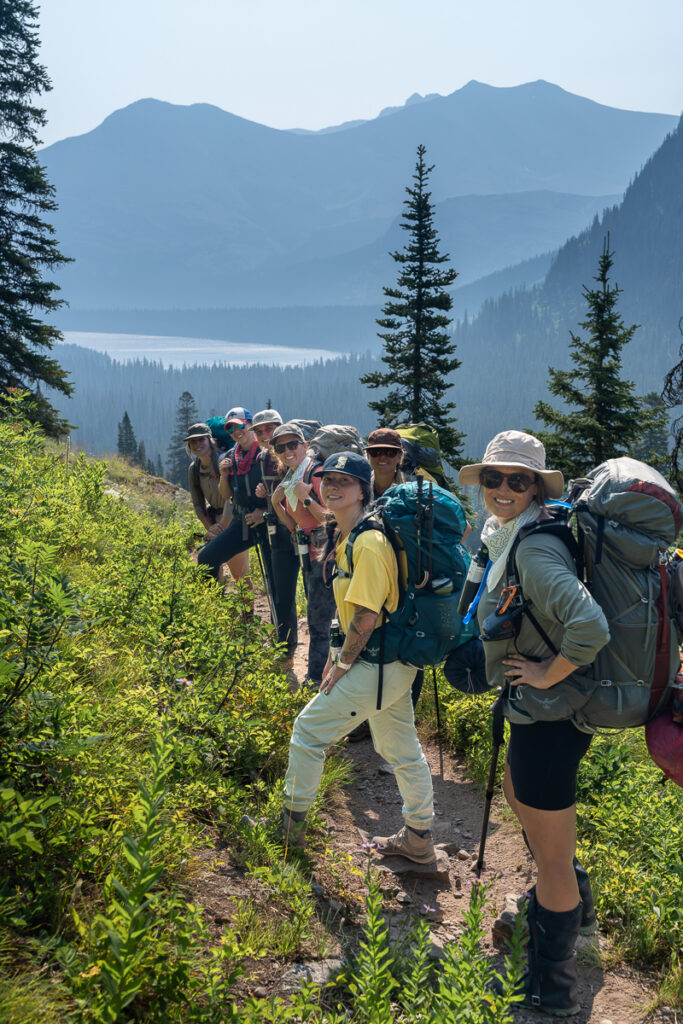
So at the end of July, I embarked on leading one of the most beautiful backpacking trips with seven other women who’d never been backpacking before. I’m going to explain to the best of my ability the way we reserved the route, but also the route and experience itself.
General disclaimer… I am not a professional guide. I’m just an outdoorsy type 2 fun friend who loves planning rad adventures and getting other people outdoors!
The route we chose was largely influenced by the Glacier National Park backcountry wilderness permit lottery system. I’ll start with the route data and then move into the how and nitty gritty fun stuff.
Pitamakan – Dawson Pass Loop | The Data
There are varied opinions on doing this route clockwise or counterclockwise. We did the route counterclockwise and loved it! I’m sure it’s just as rewarding the opposite direction. Day 2 was our longest day on the trail with a solid 8 hours of hiking.
- Difficulty: Beginner / Intermediate
- Distance: 18.3 miles
- Duration: 3 days
- Highest point: Continental Divide at the base of Mount Morgan – 8,049 ft
- Total elevation gain: 4,637 ft
- Average day: 3-6 hours


When to hike in Glacier National Park?
Mid-July to late September seems to be the best time for backpacking. Glacier NP can have snow on trails and at campsites into early July. So late summer tends to be best for dryer trails. Another big advantage of late summer is longer days with the sun setting as late as 9:30 pm. August is generally known as wildfire season, so we avoided planning our trip in August.
We started our backpacking trip on July 21st and had really beautiful, clear days. BUT the temperatures were unseasonably warm and we did have a heat advisory on our permit. We had our route booked on March 24th when our reservation window opened in the permit system.
All the backcountry campsites in the park open at different times of the season. Definitely read up on the backcountry wilderness site to get more details!
Is it safe to hike without a guide or with just women?
Yes, you can absolutely do this hike without a guide! And as a group of only women, we never felt unsafe on the trail or at camp.
The Good News: The entire trail is well-marked with trail signs and arrows indicating the trail names, directions and distances to the next convergence point. What I DO recommend is downloading an offline map of the hike onto your phone using an app like Gaia GPS or AllTrails. I had the offline map downloaded on AllTrails and kept my phone in airplane mode. We were able to see that we were on the trail and on track the entire way.
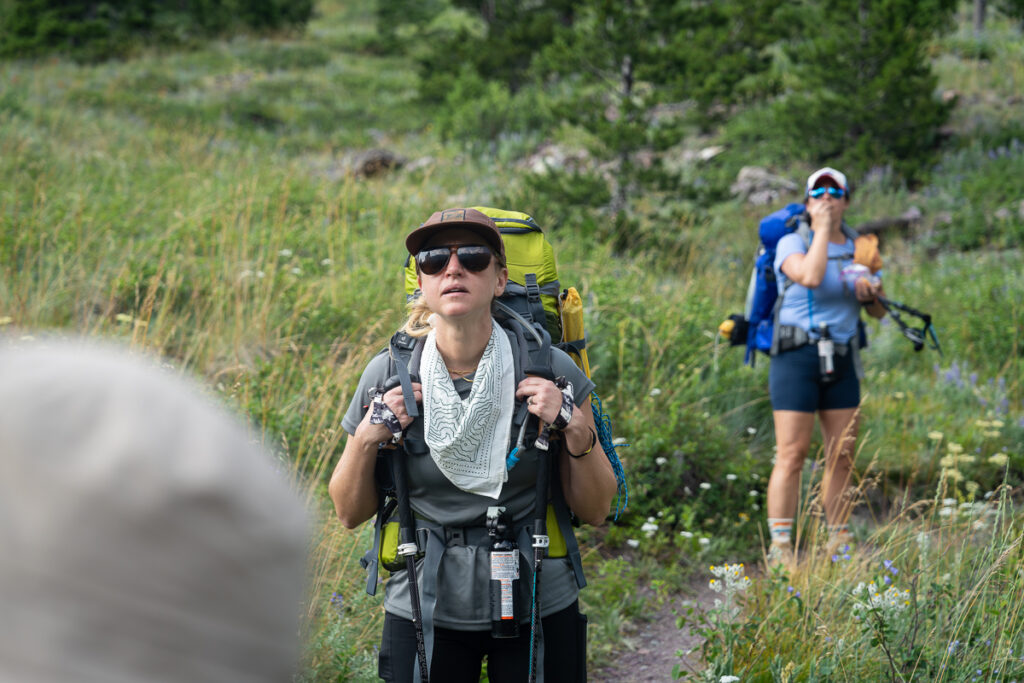
The Risk Aware News: There is an abundance of wildlife including moose and two species of bears. It is absolutely a requirement to carry bear spray with you into the backcountry in Glacier National Park. When we checked in at the permit office, we were required to watch a backcountry safety video that included bear and wildlife safety education. More on why having this awareness is so important a bit later… trust me, you’ll want to read on…
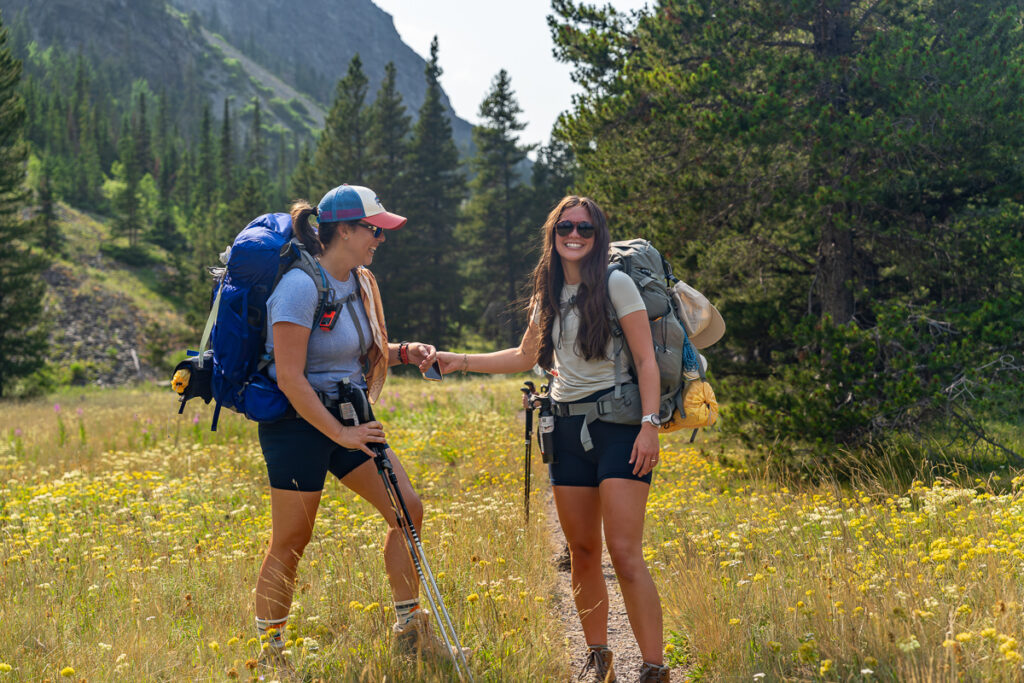
Where do I fly into to visit Glacier National Park?
We flew into Kalispell to Glacier Park International Airport. Kalispell is a fantastic spot to land because there is an REI and a Sportsman & Ski Haus nearby. This is important because you’ll need to pick up camp stove fuel before heading out on your backpacking trip since you cannot fly with fuel canisters.
We also picked up our bear spray canisters and holsters right inside the Kalispell airport upon landing. It was very easy to reserve our canisters online with Glacier Outfitters before arrival. Once we landed, they were downstairs just before baggage claim. They’ll have you sign a waiver and watch a short safety video on how to use the bear spray. Similarly, I just dropped them all off when it was time for our departure flights.
We rented two SUVs from National Rental Car for the eight of us. I’m not sure how else you’d get around without a rental car or your own vehicle.
Where do I stay near the park?
There are SO many wonderful options in and near the park. I exclusively use Airbnb and Booking.com to find my ideal stays. Because I’ve booked using Booking.com so often, I’m now at Genius Level 3 with them which gives me 20% off most stays! And they actually had some really beautiful cabins in the area listed.
We chose to stay in a cabin we found on Airbnb in Whitefish, Montana (due to the recommendation of several friends). Whitefish is a super quaint mountain town with plenty of restaurants and a lot of great live music. We had plenty of space for our entire group and our cabin even had a hot tub for us to soak our muscles after a long three days on the trail.
Do I need a permit to do this backpacking route?
Yes. You 100% are required to have a backcountry wilderness permit and a reservation for the campsites. While you can do this hike in a single day (which would likely be quite strenuous and exhausting unless you’re very experienced and fit!), you cannot make it a multi-day trek without the permit and reservation.
The Glacier NP website does a great job of laying out this process. I found it to be very easy, but also nerve wracking because there are zero guarantees.
Here’s how we did it:
Every single woman in our trip group applied for a backcountry wilderness permit in the standard group lottery (1-8 campers) on March 15th. That’s right… you only have ONE day to submit your name into the lottery. It costs $10 to apply. So each woman paid $10 for the hopes of being selected in the permit lottery on March 18th. Come March 18th you are sent either a Congratulations email or a Better Luck Next Time email. ONE of the eight of us received the Congratulations email! THANK HEAVENS!
THEN in that congratulations email, you are given an early access timeslot. In other words, on this date and at this time you may login to the system and reserve the campsites / route you want to hike. Our timeslot opened on March 24th at 5 pm Mountain Time. The good news is that Glacier changed their rules last year so that you can reserve campsites for up to eight campers under ONE permit. So I logged into the site and first tried our number one route pick, but it was already booked up for the potential dates we had available for the entire group. We were basically trying ANY dates in July. SO onto route choice number two. Et voila! It was available! SNAG THOSE CAMPSITES!
Because we had eight women, we had to reserve two campsites at each camp location. Each campsite can hold two tents and up to four people. The two-night reservation was secured and cost us $14 per person. The other thing to keep in mind is that you are also required to buy a pass to enter the park. Your backcountry wilderness permit ironically does not give you access to the entry of the park. You can either buy the Annual Interagency Park Pass for $80 or buy a Glacier NP pass upon arrival for $35 per vehicle.
This Wilderness Camping Advance Reservations page on the Glacier NP website explains in great detail that it easy to understand just how this entire system works. If you do NOT get an advanced lottery permit, you can book a trip when the general sale goes live on May 1. This just means you have to be prepared to be more flexible in your itinerary / route.
The Pitamakan – Dawson Loop
This route is in East Glacier. It’s a great route to get away from the congestion and crowds that exist primarily in West and North Glacier. It was reinforced to me multiple times ahead of this hike that we were absolutely backpacking one of Glacier National Park’s hidden gems. Not many folks get out to East Glacier because it takes about 90 minutes to drive there and so it stays relatively quiet compared to other more popular areas of the park. If you’re looking for solitude and to disconnect… this is 100% the route for you.
Another thing I’ll say about this route that shocked me was the sheer number of “OMG!” and “WOW!” moments.
Day One
- Starting Point: North Shore Trailhead
- Distance: 6.3 miles
- Trail Time: 4 hours
- Elevation Gain: 2,090 ft
- Elevation Loss: 508 ft
- Ending Point: Old Man Lake Campground
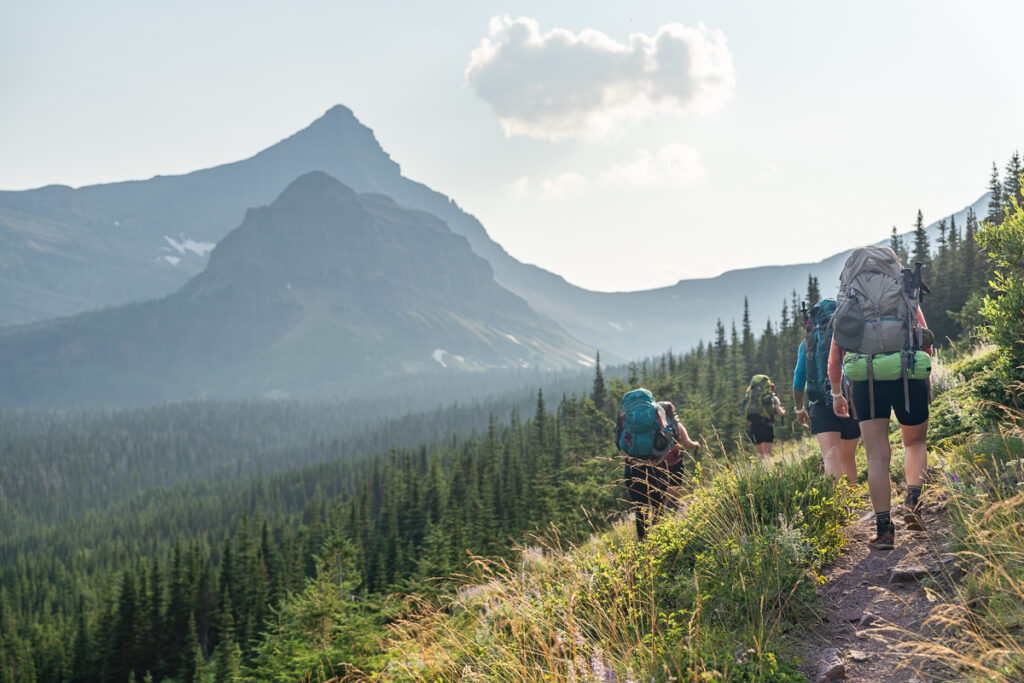
We woke up in Whitefish, had coffee and breakfast at the cabin, and did one last run through of our backpacks. I weighed everyone’s packs (relative based on size of each person: 29 lbs – 38 lbs) and double checked our packing list to be sure we had only the required gear. Thankfully we had the cabin rented for the entire week, so we were able to leave suitcases at the house while we were out in the backcountry.
Because we only had about 6 miles of hiking to do today and the sun wasn’t setting until 9:30 pm, we were not in a huge rush to get going early.
After loading up the cars, we hit up Subway for an easy lunch on the road and drove 40 minutes to the Apgar Backcountry Permit Office just inside the West Entrance. Give yourself a solid 45 minutes at the permit office as you’re required to chat with a ranger and watch a 25 minute backcountry wilderness safety video. We ALL learned a thing or two!
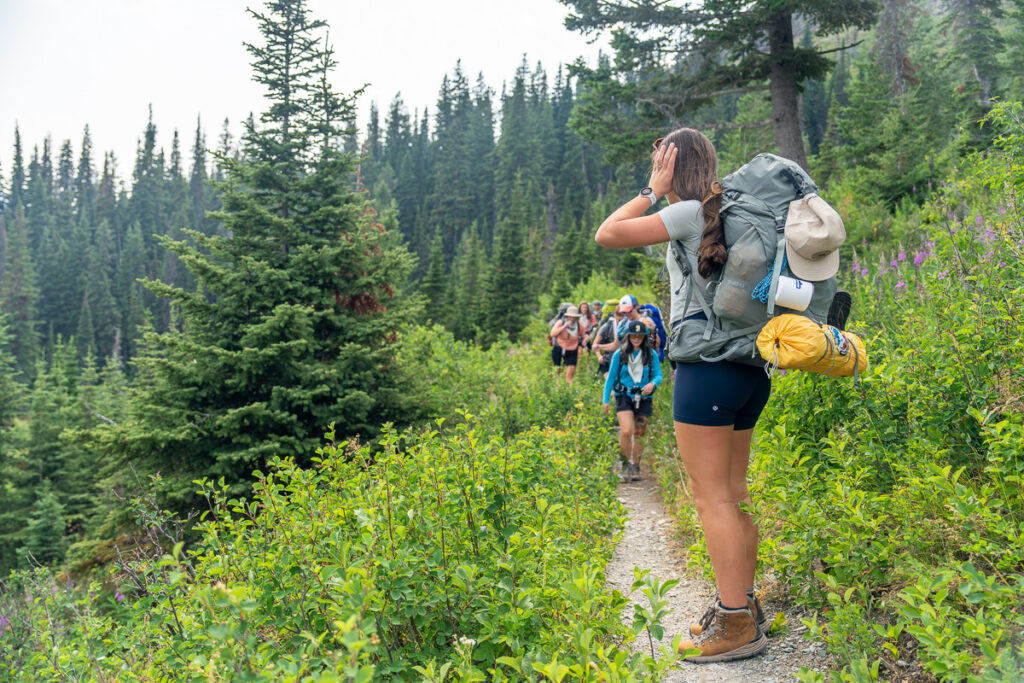
With permit in hand (yes, a physical piece of paper that I kept on me at all times), we drove 90 minutes east to the Two Medicine Entrance of the park. There was absolutely no wait to get into this side of the park (remember, no crowds!). We parked at the North Shore Trailhead (Google Maps took us straight there), laced up our boots, strapped on our packs and hit the trail!
It was already 3:30 pm which was about an hour later than I’d wanted to begin. But… we had plenty of buffer with sunset being at 9:30 pm.
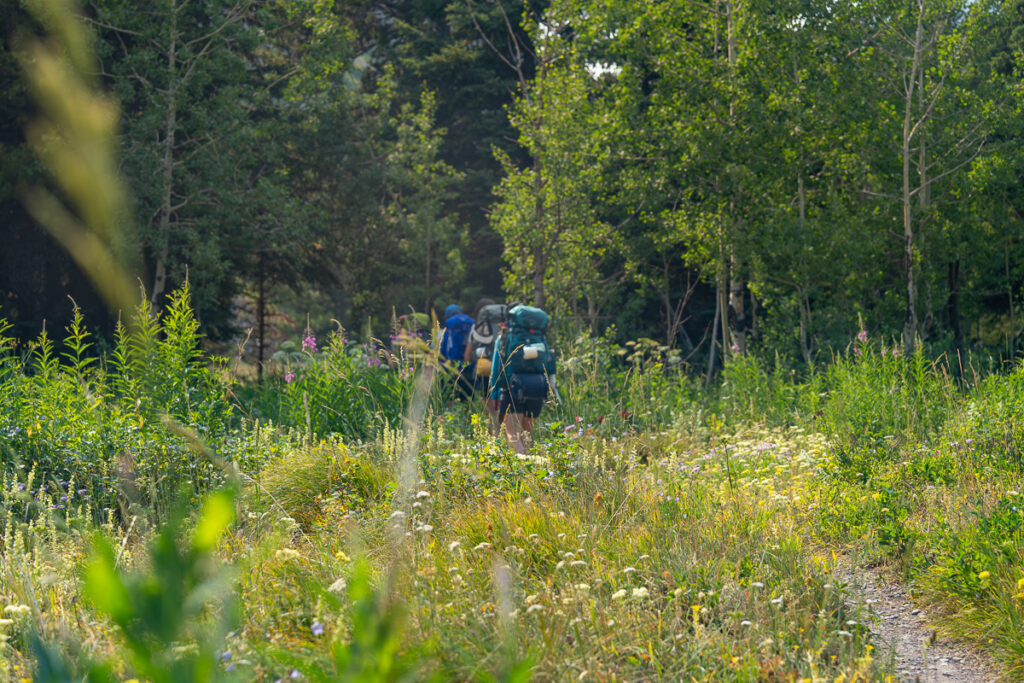
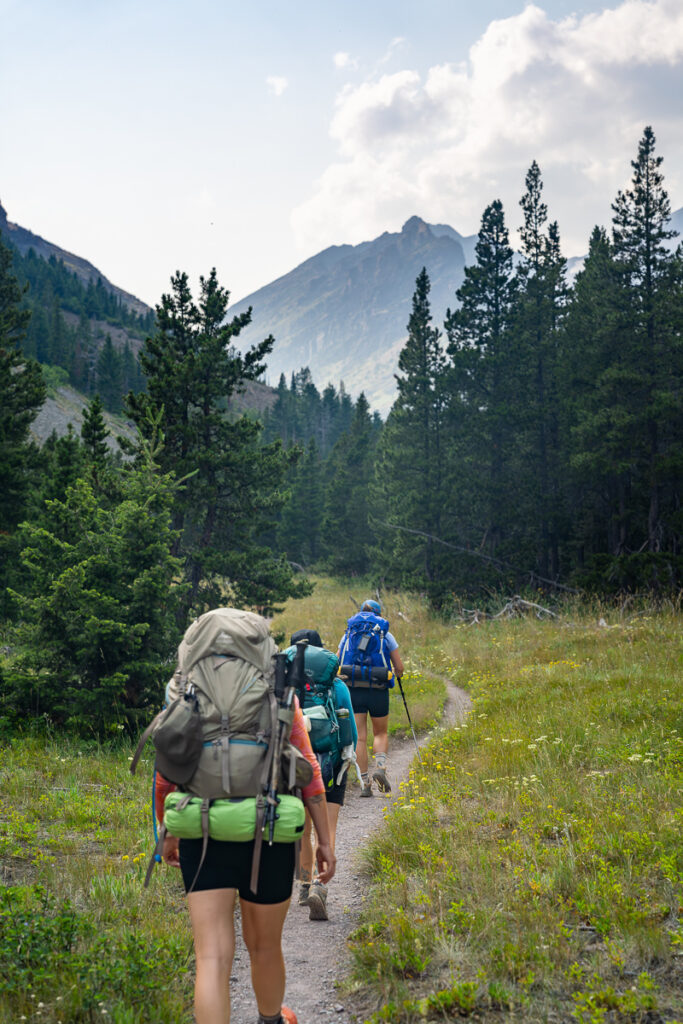
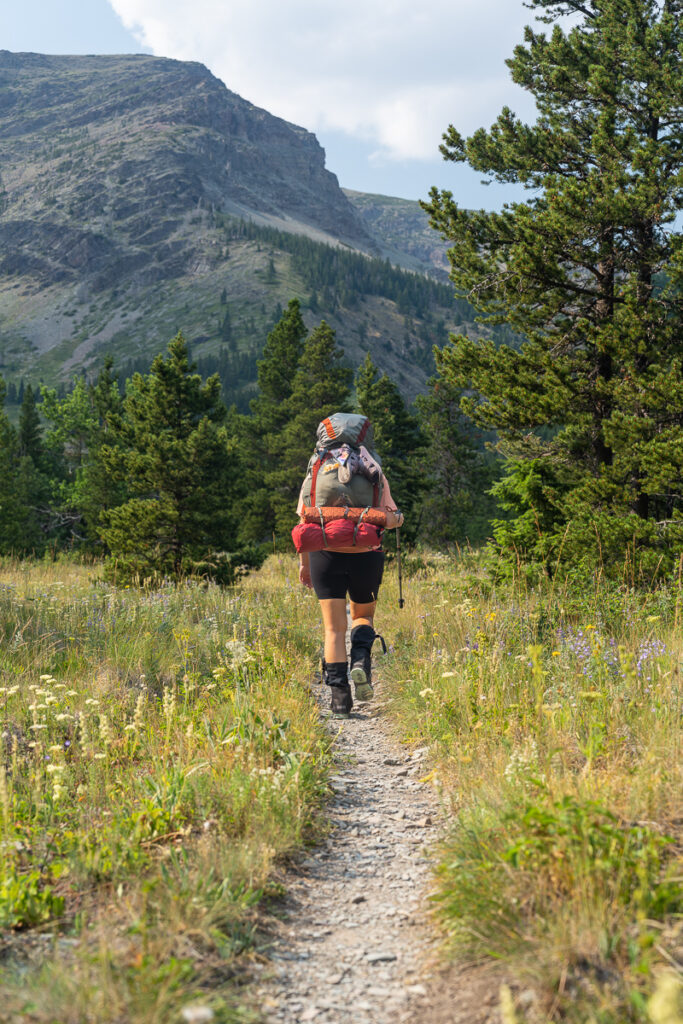
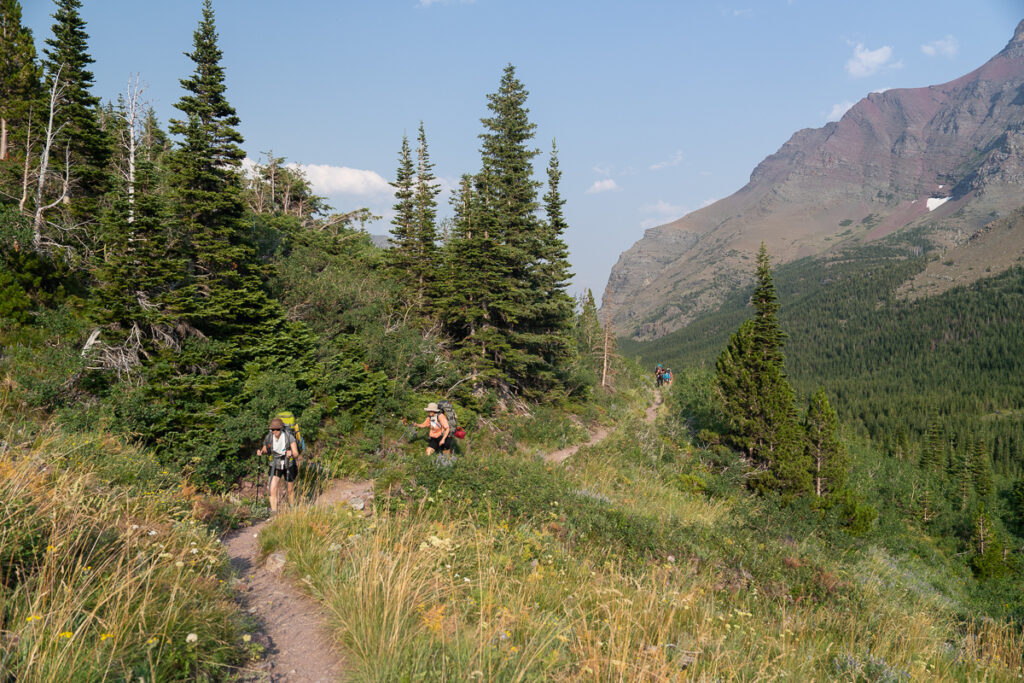
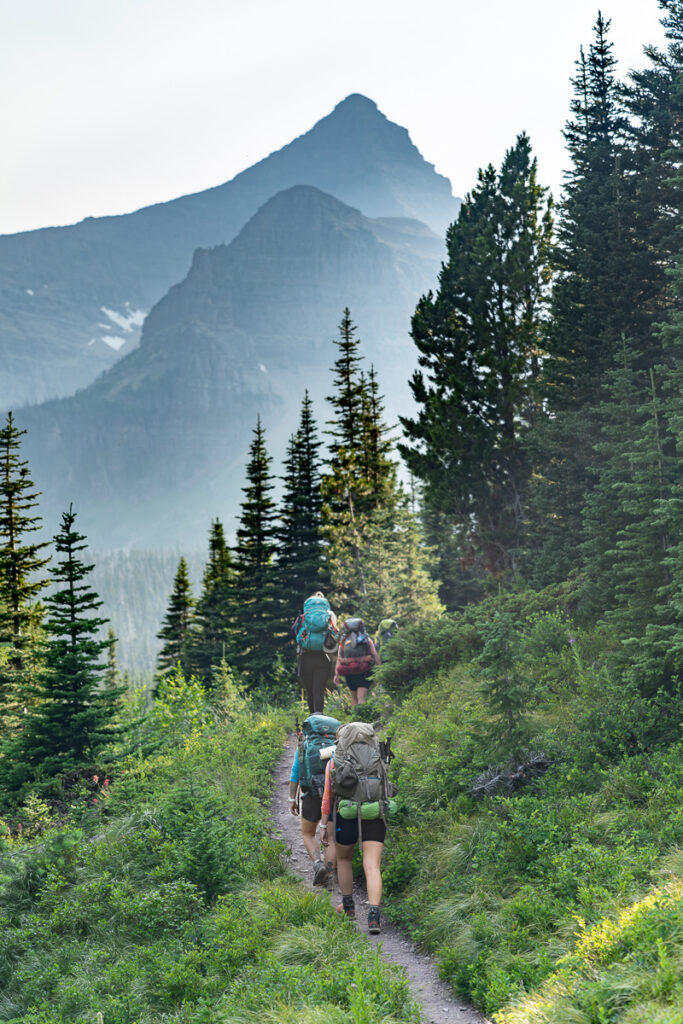
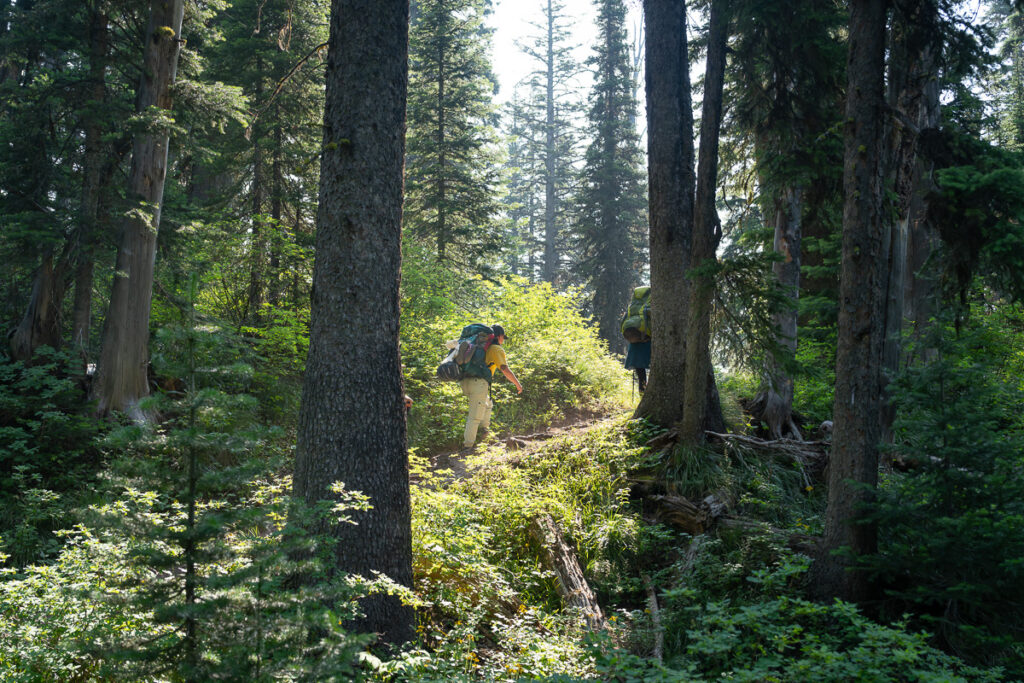
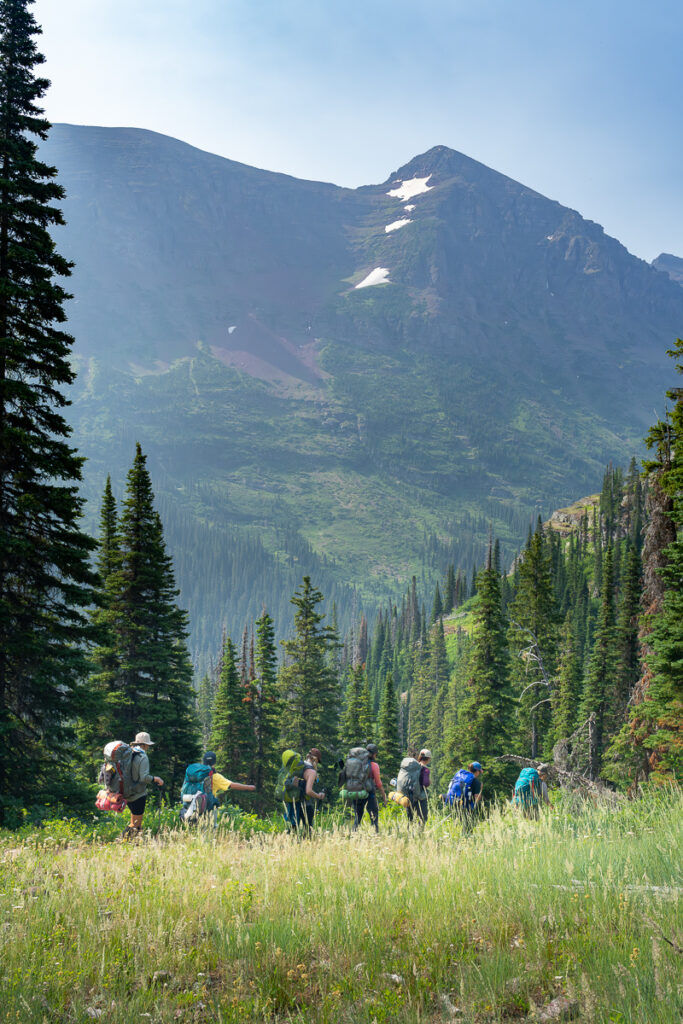
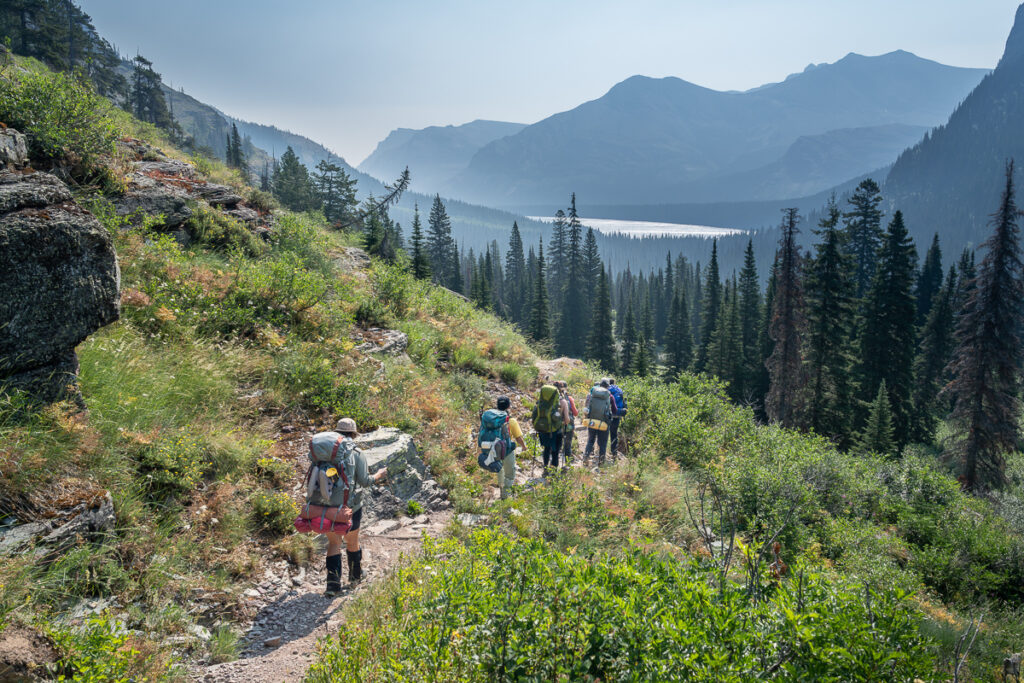
Trail Notes: The trail starts with a climb out of the lake and then a relatively flat walk through stereotypical forested bear country. We approach our first stream with a sweeping view and continue to climb through the forest. After a dip, we reach another stream with a lot more water and then gradually climb on the side of a hill with colorful wildflowers and stunning views of mountain peaks. We cut back into the forest and climb for another hour or so before hitting camp at dusk. It was a gradual climb up to the first campground, but still challenging with weight on our backs.
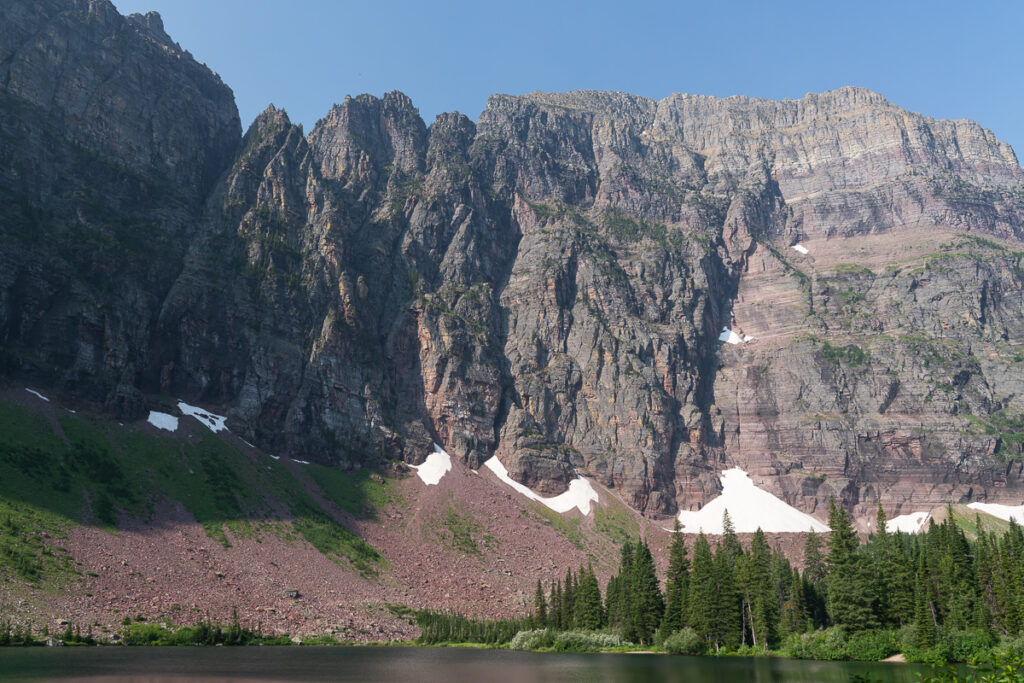
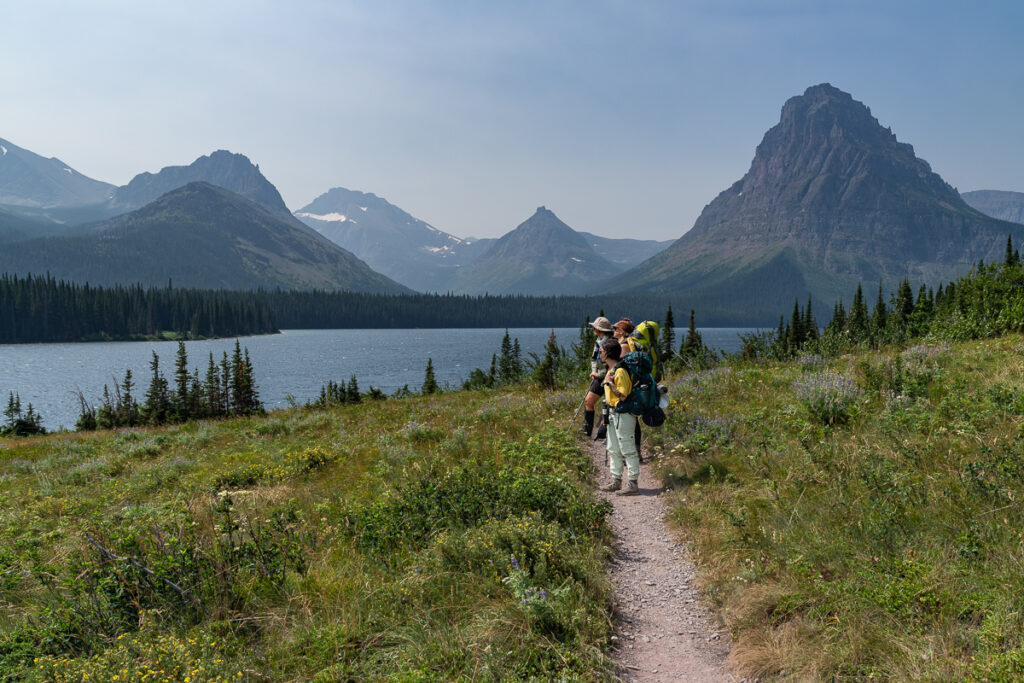
Old Man Lake Campground is BEAUTIFUL! Absolutely spend time down at the lake in the evening and in the morning soaking in the views. Rising Wolf Mountain shoots straight up out of the lake and it’s pretty epic.
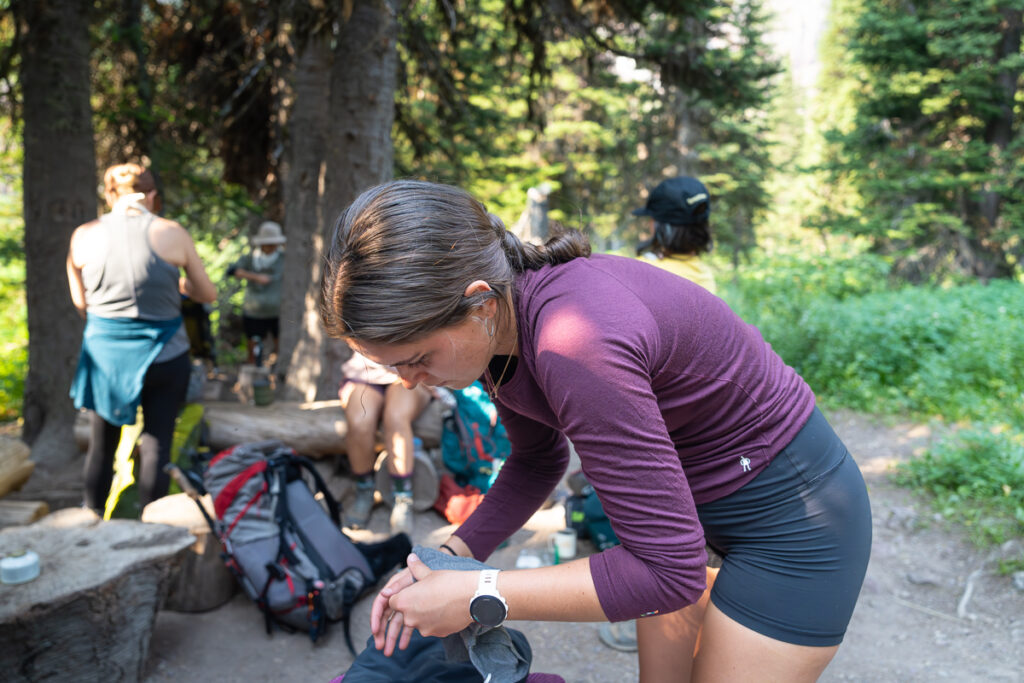
Also… Glacier NP has the campgrounds set up in sections or areas. Both campgrounds we stayed at had pit toilets. There is a dining area with bear poles as soon as you walk into camp. You are required to drop all food there before walking to your campsite. And then the campsites are at least 200 yards away from the dining areas. This is for bear safety and I was actually super impressed with the entire set up.
Day Two
- Starting Point: Old Man Lake Campground
- Distance: 7.1 miles
- Trail Time: 6 hours
- Elevation Gain: 2,232 ft
- Elevation Loss: 3,014 ft
- Ending Point: No Name Lake Campground
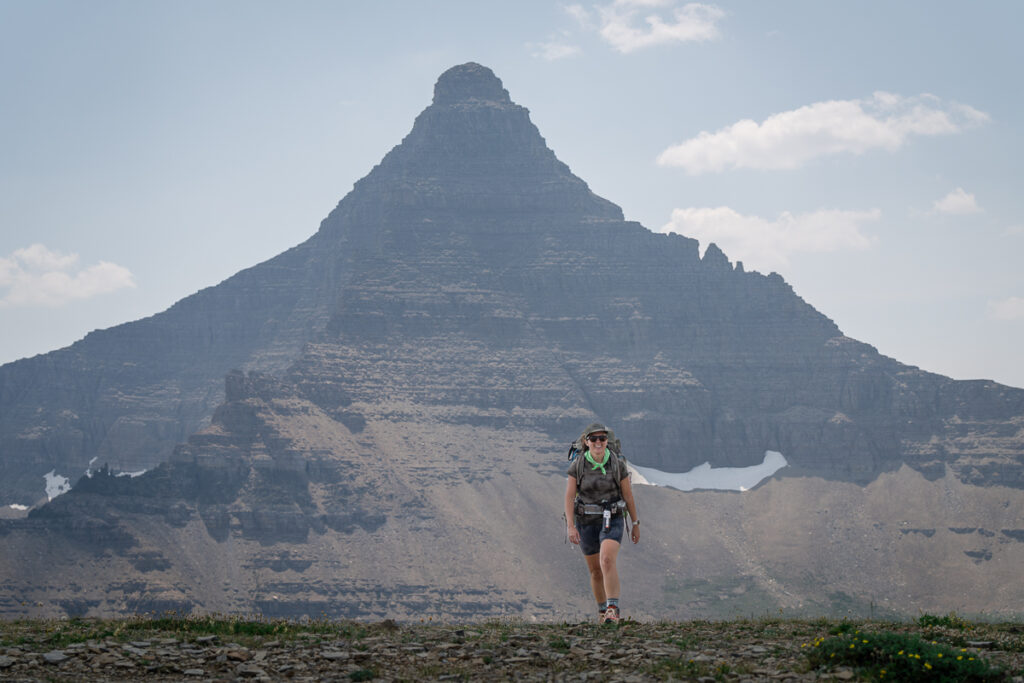
We really enjoyed our morning at Old Man Lake Campground. Everyone took it slow and moved at their own pace which was nice. While I had hope to get on the trail by 10 AM, we didn’t depart camp until 11 AM. Again, not a huge deal since we had all day to make our way up and over Pitamakan and Dawson passes to No Name Lake.
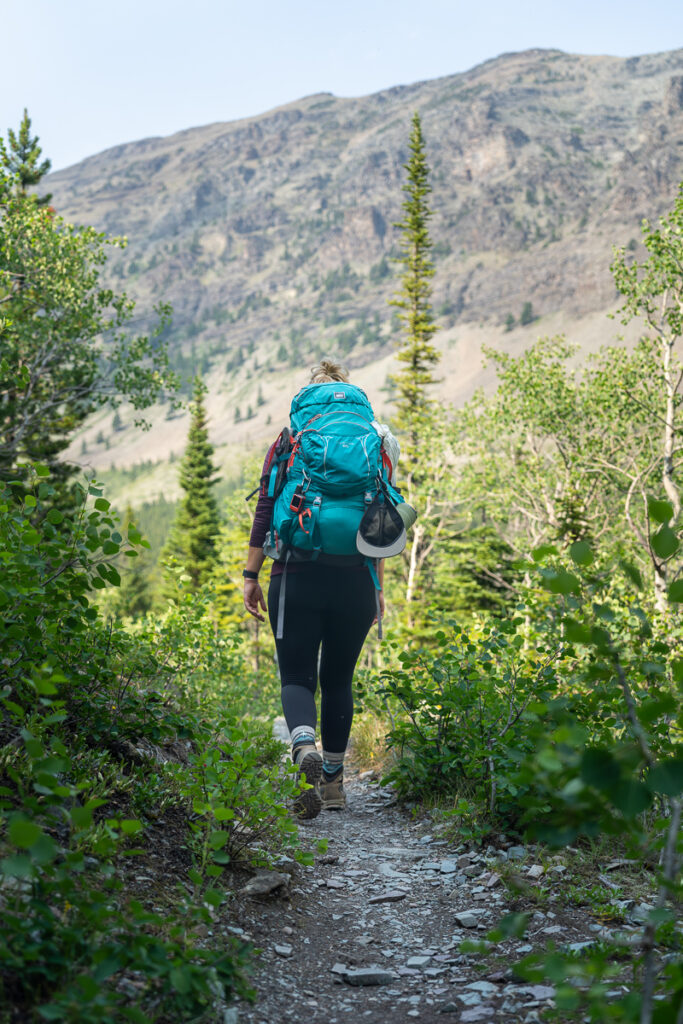
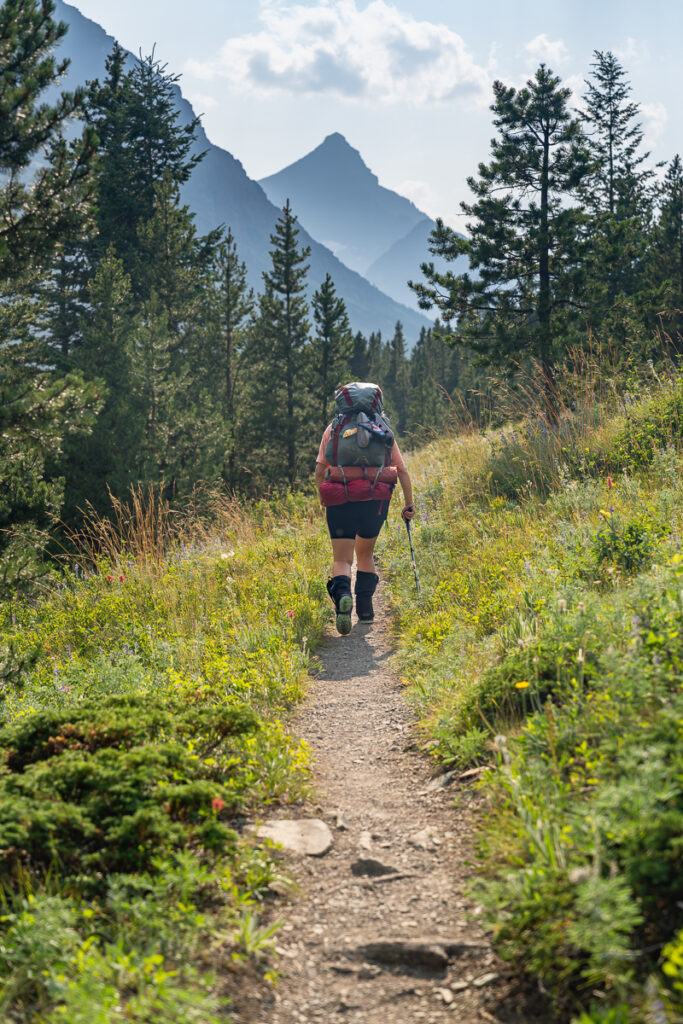
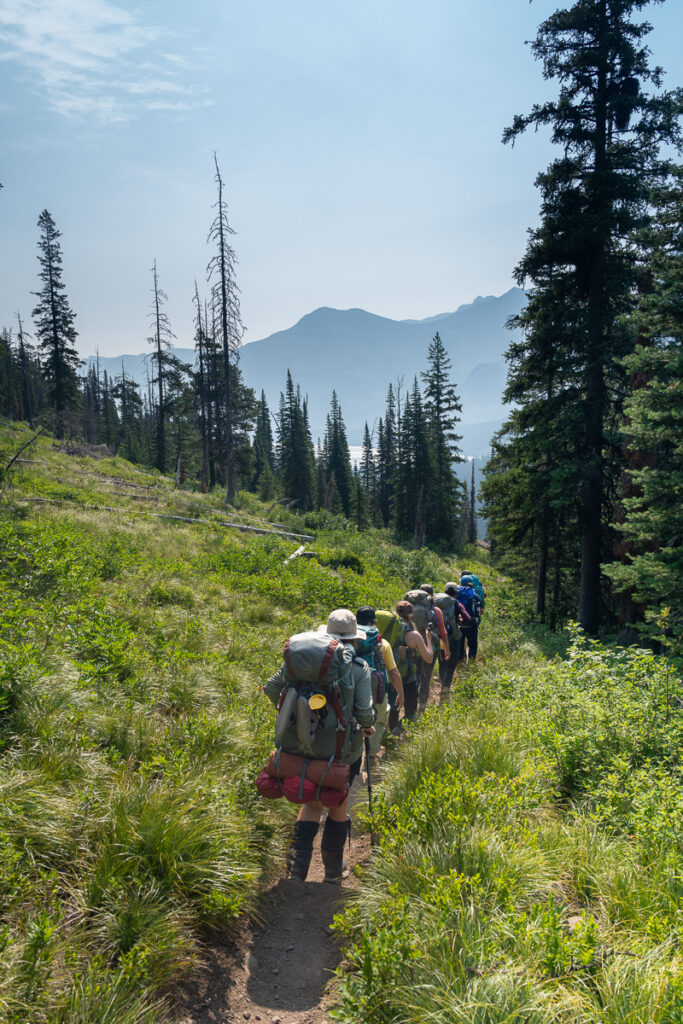
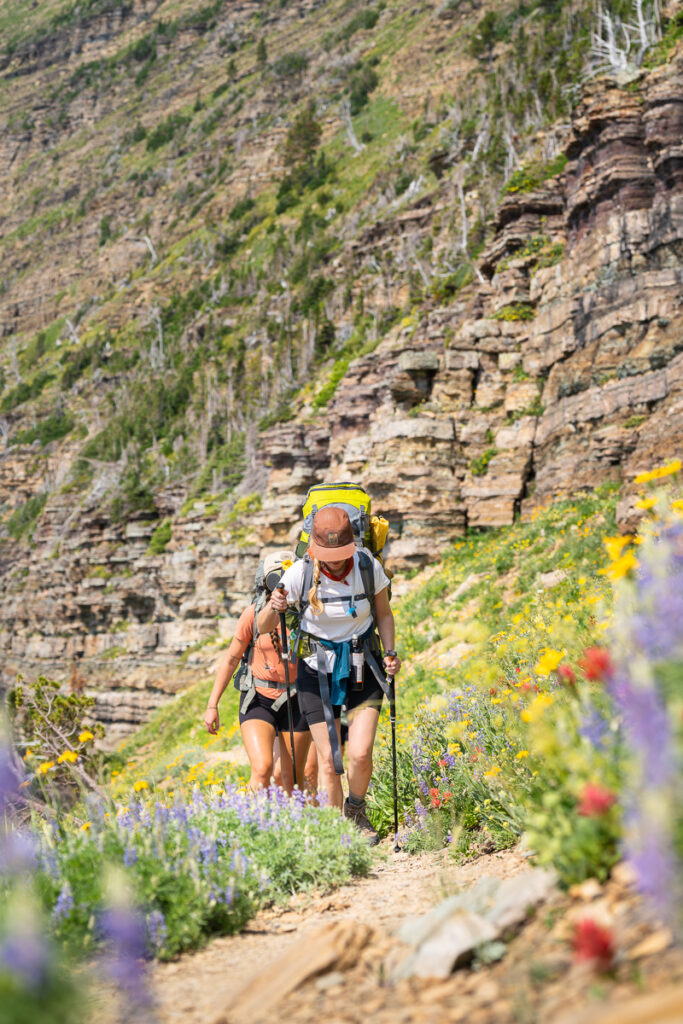
When you leave Old Man Lake, it’s an immediate, steep climb up to Pitamakan Pass. The good news is… that part of the trail is sprinkled with so many differently colored wildflowers that it was hard not to smile nearly the entire way. But it’s a solid climb and it’s totally exposed, so be sure to have on some good sun protection.
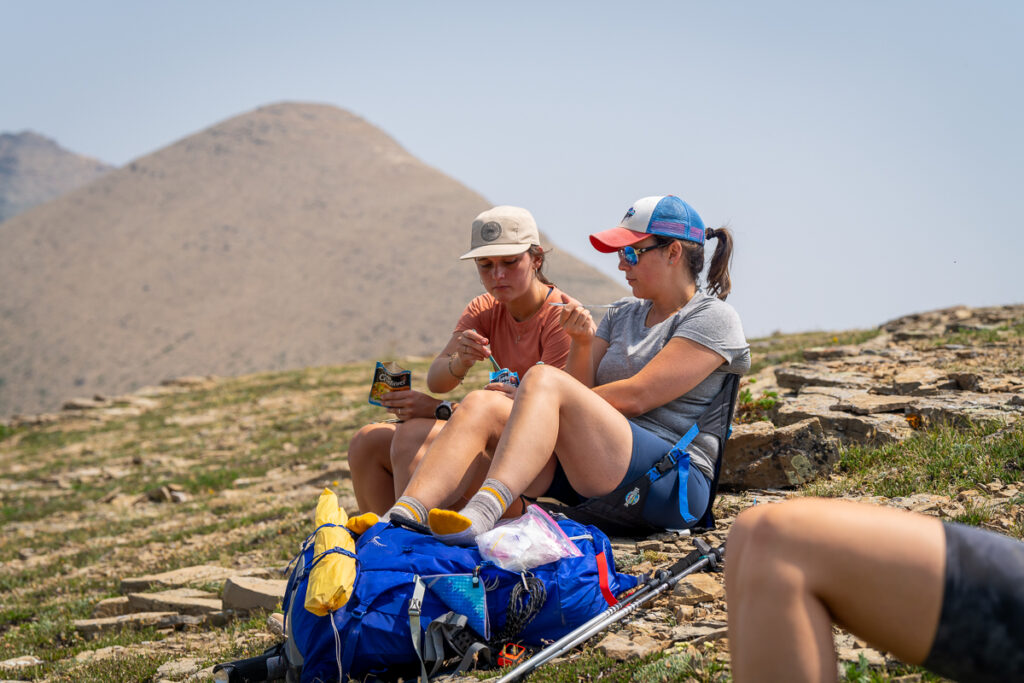
We stopped for lunch just before the final push up and over Pitamakan Pass. It was a beautiful viewpoint with plenty of room to sit and rest.
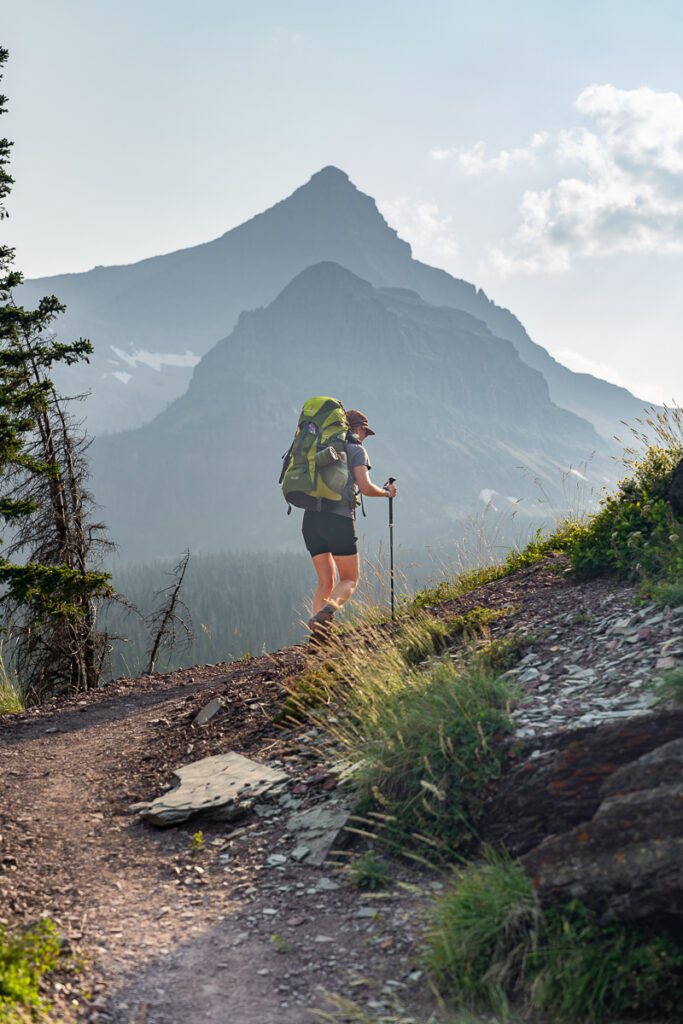
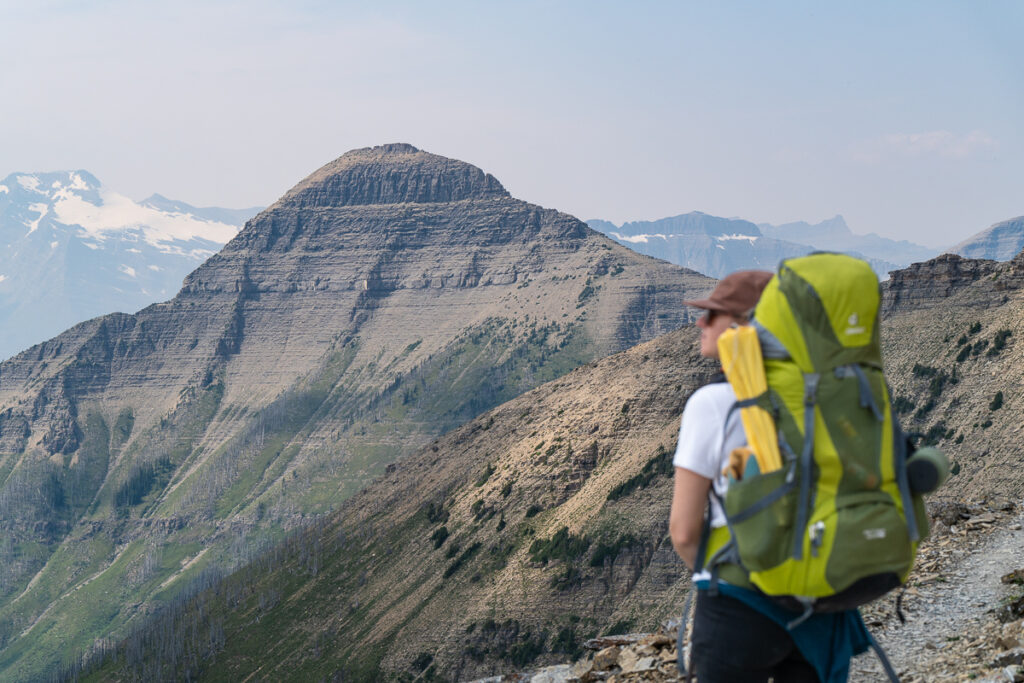
This is one of those days that I could not quite count the number of whoas, wows, and oh my god’s. With every crest of a hill or turn of the trail the views offered up a new surprise – glacial lakes, vast snow-covered peaks, moose, mountain goats, turquoise water, Rising Wolf Mountain. It was an incredibly dynamic hike!
This was also a super exposed and hot day. AND two hikers ran out of water. The thing you have to be prepared for on this section of the trail is that from Old Man to No Name Lake, there are no streams to refill your water bladders. So you either want to ration well or carry extra water. One of the hikers that ran out of water had started the day with 3 liters. So I was in no way worried about dehydration, but it was a lesson in how much water to sip during breaks, lunch, etc.
Once we realized a couple women had run out or were running VERY low on water, we decided that our decent once cresting Dawson Pass would be a bit more swift so that we could get to camp and rest.
It was nice being above tree line most of the day because it was a nice reprieve from the mosquitos and flies. Which leads me to what I WISH I would have packed. Next time I visit Glacier NP, I’ll likely pack a bug net for my head and also looser fitting pants for camp to protect my skin from bug bites. Leggings just didn’t cut it – the bugs bit right through.
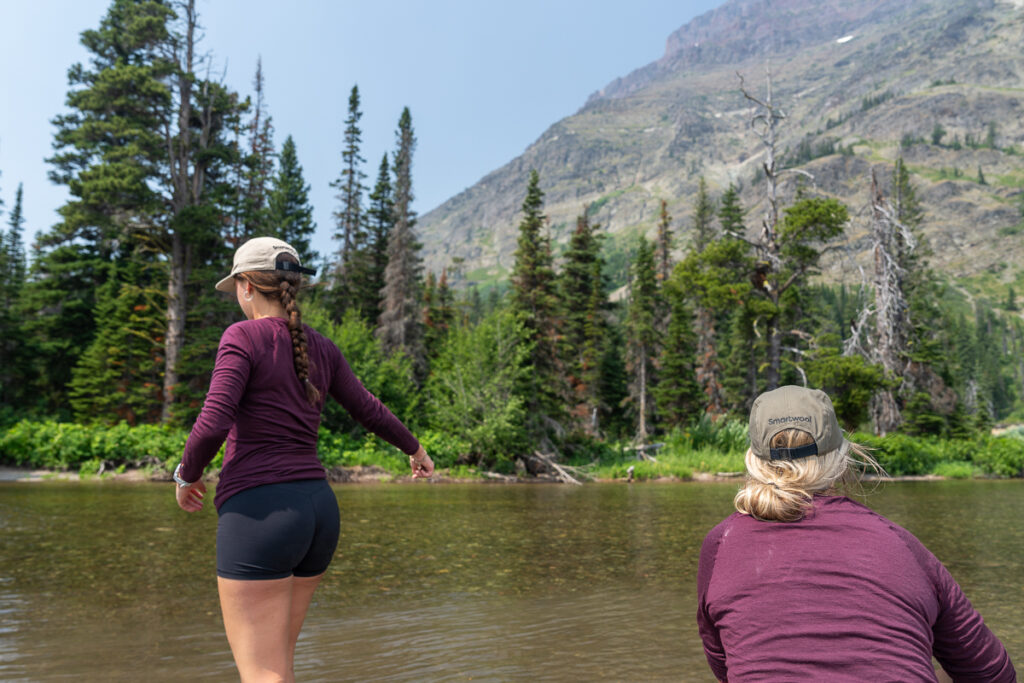
No Name Lake Campground was also, of course, beautiful. We really enjoyed taking a dip in the lake to cool off and refresh before dinner. AND a big moose clearly lived here. After dinner a few of the women saw the moose down by the lake (away from where we were eating / sleeping). And the next morning, two of the women had a little encounter down by the lake, got kind of trapped and had to find an alternate route back to the campground so as to not disturb said moose. We had some giggles about it after the fact, but at the time… hearts were racing!
On that note, NEVER approach wildlife! Not only is that SO stupid because wildlife can be very unpredictable, but it’s a National Park regulation to stay at least 100 feet away from any wildlife. This is also one of the Leave No Trace principles which outlines minimum impact practices for anyone visiting the outdoors. If you are unfamiliar with Leave No Trace (LNT), take a moment to read up on the 7 principles before your next outdoor adventure.
Day Three
- Starting Point: No Name Lake Campground
- Distance: 4.9 miles
- Trail Time: 3.5 hours
- Elevation Gain: 373 ft
- Elevation Loss: 1,147 ft
- Ending Point: North Shore Trailhead
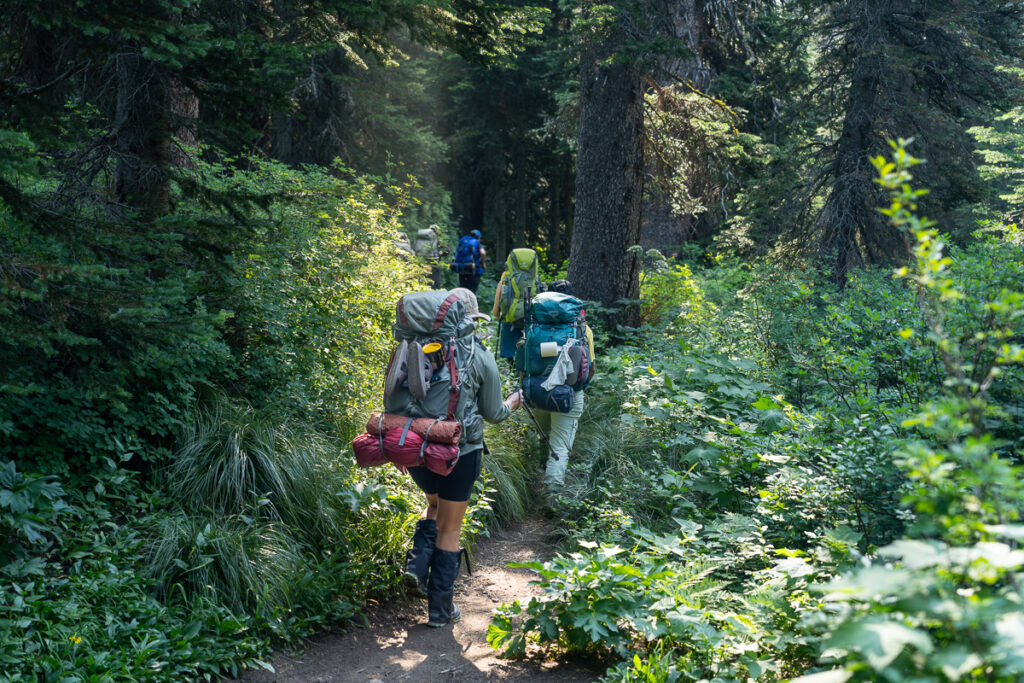
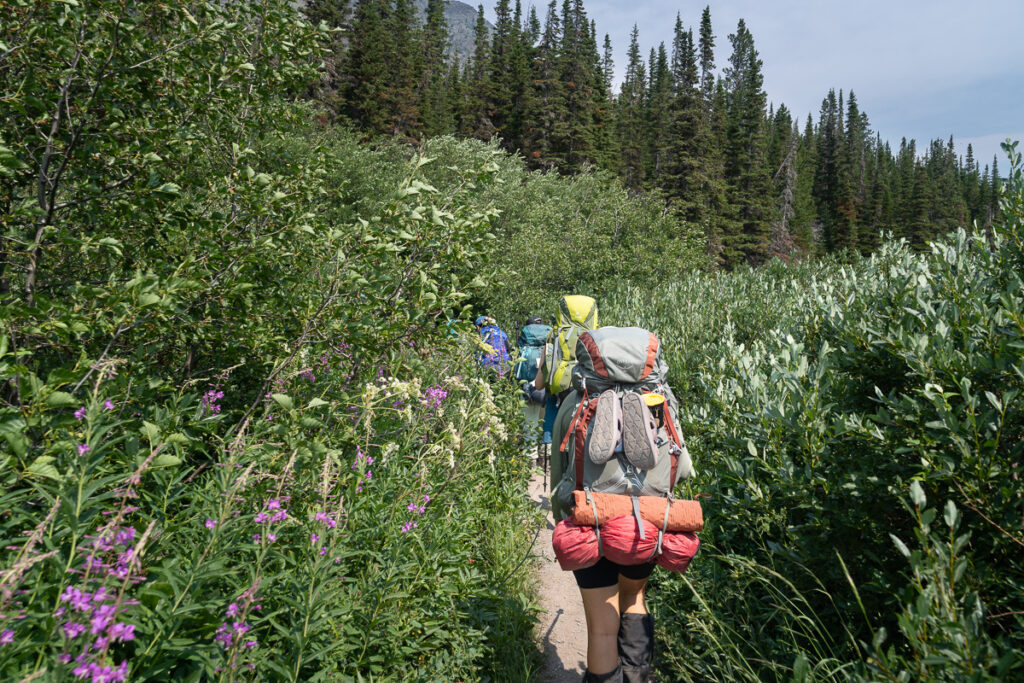
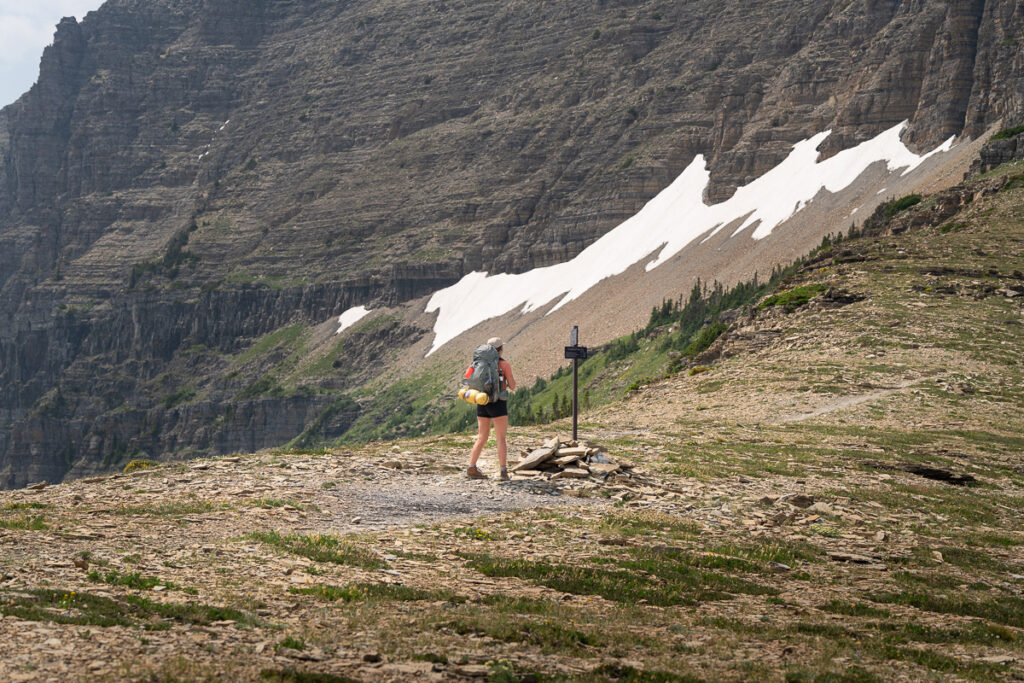
We got out of camp a bit earlier this morning and were a bit solemn as we departed since it was our last day on the trail. But this was the day we learned about the importance of bear safety training and carrying bear spray. As we were headed down the path in a huckleberry-filled section of the trail, we were all pretty tightly together and two of the women rounded a corner in the trail. And then suddenly stopped… stopping everyone behind them. Britt turned around and whispered forcefully “Bear! Back up, back up, that’s a bear!” I was pulling up the rear so it took me a moment to realize what was happening.
All the women had pulled their bearspray out of their holsters and were ready to take action if necessary. But the training we had guided us well. We started calmly saying in a conversational tone “Hey bear… heeey bear. We’re right over here. Here we are, bear. We’re just hiking and trying to get down the trail.”
The good news was that this was NOT a Grizzly. And the better news is that she was alone (no cubs). She was just munching on some fresh, juicy huckleberries. And sure enough, our voices talking to her worked (assuming she was a lady bear). And she started to move along up the mountain into the brush which allowed us to continue down the trail.
Talk about getting the adrenaline pumping! Once we were further down the trail, we ran into a park ranger and were able to give him the location of our sighting. That’s one of the park regs – report any and all wildlife sightings.
We made it back to the car in time to grab a snack at one of the nearby park lodges before heading back into Whitefish for lunch.
What do I pack for two nights in the backcountry?!
For my tried and true packing guide for any three-day adventure I’m taking into the backcountry, click right down here.
Like this post? Pin it for later and share it with others!
August 29, 2024
|
Hey There! I'm Hilary Lex
I’m here to help women step into adventure and feel confident on the trail. With years of backpacking experience, I’ve created Hilary Lex Treks to guide you on unforgettable journeys through wild places like Glacier National Park. Whether you’re just starting or ready to take on a new challenge, I’m here to support you every step of the way. Let’s get you out there and make your adventure a reality.
Stay in Touch
Letters about my latest adventures, obsessions, and industry news – just a little something to invite bewilderment into your daily life.
